Port 80 should be open and free to use as Let's Encrypt runs a small http server behind the scene to prove whether you control your domain address (ACME protocol).
- You need to fetch the source code of Let's Encrypt on your server which your domain address is pointing to. This step may take a couple minutes. Remark: Python 2.7.8 (or above) should be installed beforehand.
- By executing following command in your terminal, Let's Encrypt generates certificates and a private key for you. Keys are generated in /etc/letsencrypt/live/seeld.eu. Remark: 'certonly' - means that this command does not come with any special plugin like Apache or Nginx. 'standalone' - means that Let's encrypt will automatically create a simple web server on port 80 to prove you control the domain.
How to Generate PKCS12 Files From PEM Files
Certificates and private keys are generated in 2 steps for free which shows the simplicity of Let's Encrypt. All of these generated materials are with PEM extension which is not supported in Spring Boot. Spring-Boot does not support PEM files generated by Let’s Encrypt. Spring Boot supports PKCS12 extension. Using OpenSSL, we convert our certificate and private key to PKCS12.
To convert the PEM files to PKCS12 version:
- Go to /etc/letsencrypt/live/seeld.eu
- We convert the keys to PKCS12 using OpenSSL in the terminal as follows.
The file 'keystore.p12' with PKCS12 is now generated in '/etc/letsencrypt/live/seeld.eu'.
Configuration of Your Spring Boot Application
Now we want to configure our Spring Boot application to benefit from the certificate and the private key; and eventually have the HTTPS thingy ready. At this moment, we already generated our certificate and private key. Then we converted the keys to PKCS12 extension which is ready to be used for a Spring application.
- Open your 'application.properties'
- Put this configuration there. Remark'require-ssl' - means that your server only processes HTTPS-protected requests.
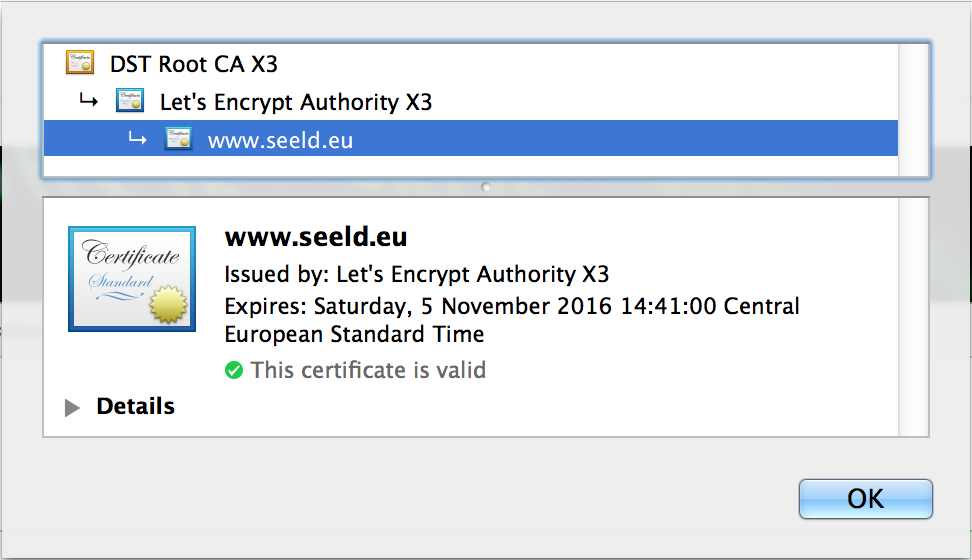
If you visit https://seeld.eu:8443, you can see that HTTPS is successfully configured and most importantly working. For the sake of our project, we did some additional steps to have HTTPS working with port 80, you can browse it with the https://seeld.eu URL.
Renewal Process
Let's Encrypt certificates are only valid for 90 days. Some may say 3 months is too short comparing to validity period of certificates offered by other providers. They have two motivations for this strict decision: (1) limiting damage from key compromise or mis-issuance; (2) encouraging automation. So let's get started!
- Open your Let's Encrypt client directory, I mean the certbot. Remarks: On the same machine that certificates and keys are located. Please read all of the remarks from sections, such as having python installed, having port 80 open, etc.
- Run the renew command as follows.
$ sudo ./certbot-auto renew- This command checks the expiry date of certificates located in this machine (managed by Let's Encrypt), and renew the ones that are either expired or about to expire.
We have new certificates, as simple as that!
As discussed in the section: Spring-Boot does not support PEM files generated by Let’s Encrypt. Spring Boot supports PKCS12 extension. Using OpenSSL, we convert our certificate and private key to PKCS12.
Preparation for Spring Boot
Let's create a PKCS#12 key store!
- Go to /etc/letsencrypt/live/seeld.eu
- We convert the keys to PKCS12 using OpenSSL in the terminal as follows.
The file ‘keystore.p12’ with PKCS12 is now generated in ‘/etc/letsencrypt/live/seeld.eu’.
But wait!
I assume the machine that you're woking on is the one with running Spring Boot. It means that we're not done yet! The previous ‘keystore.p12’ is still in the memory, meaning that you need to restart your application!
It's not always viable to simply restart a running application. There might be other ways to update it without restarting but it's not in the scope of this post.
The Take-Home Message
In this post, we saw how to issue, renew a Let's Encrypt certificate, and most importantly, integrate it with Spring Boot. If you really don't unnecessarily play with configurations, it takes less than 5 minutes to have all things ready.
The main takeaway message for me is that Let's Encrypt makes (re-)issuing certificates incredibly faster, easier, and cheaper for everyone, no matter how many services you manage! You should start having HTTPS as soon as possible.
